Not for emergencies. If someone is seriously unwell or in immediate danger, call 999. For urgent medical help use NHS 111 or your local urgent-care route.
Display: Accessibility statement

How Healing Process works

One clear routine, from first picture to agreed action.

The redesigned journey removes uncertainty. It tells the person what to do next, shows whether anyone is connected, preserves every original and records the outcome of each review.
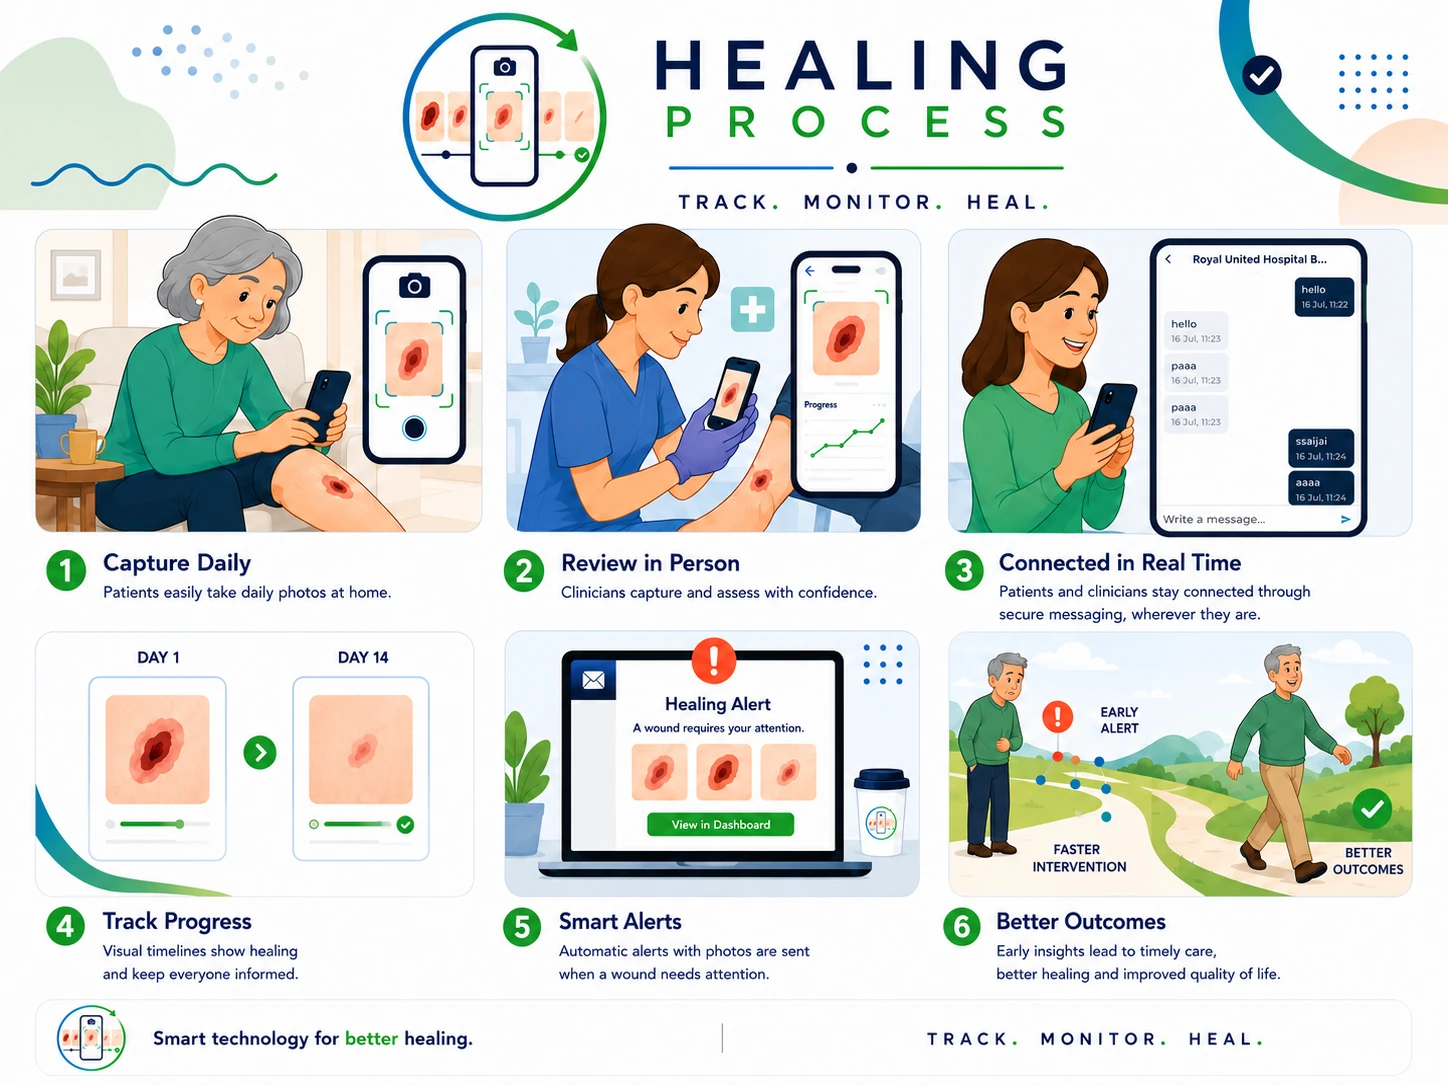
Healing Process illustrated overview
New design ruleEvery screen answers: where am I, who can see this, and what happens next?
Personal record mode: entries remain for the individual’s own reference unless they choose to export or share them. No clinician, practice or hospital is automatically watching, and pressing a concern button does not summon a clinical response.
Linked care pathway: a provider may configure the service for named teams, review queues, response hours and escalation routes. These arrangements must be explained locally; they are not assumed merely because the app is installed.

Step by step

Six actions, explained in plain English

1

Confirm the mode

A prominent banner states either Private—no team connected or Linked to [service name], with review hours and urgent routes.

2

Create the baseline

Take a clear first photograph, select the body area, record the date and add a brief note. Consent and proxy status are confirmed before capture.

3

Reproduce the view

The next session overlays visual landmarks and checks blur, glare, lighting, framing, orientation, distance and angle before accepting the photograph.

4

Compare transparently

The screen shows baseline original, follow-up original and a separately labelled aligned derivative. No generative fill should create or conceal clinical detail.

5

Describe and communicate

Structured questions help the person describe what has changed. In a linked pathway, the message joins the correct service queue with the image record.

6

Review and close the loop

The reviewer records the decision, advice, appointment, escalation, safety-netting and next review. The user sees a clear status—not an ambiguous “sent”.
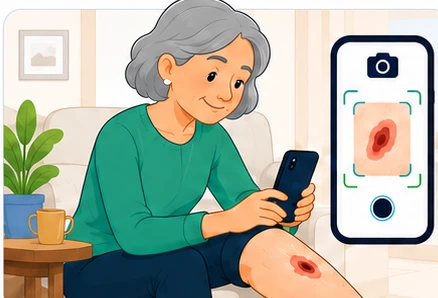
Illustration of patient image capture
Take the first pictureA guided baseline should make the later photograph easier to reproduce.

Baseline checklist

Before pressing the shutter

  • 1
    Clean the camera lens and use a stable position.
  • 2
    Follow the person’s existing clinical instructions about dressings; do not remove one solely to use the app.
  • 3
    Use an agreed scale marker only where the provider’s protocol permits it.
  • 4
    Check that no face, label, letter or unrelated person is accidentally visible.
  • 5
    Review the photograph before saving and retake it if it is blurred or misleading.

What the image process may and may not do
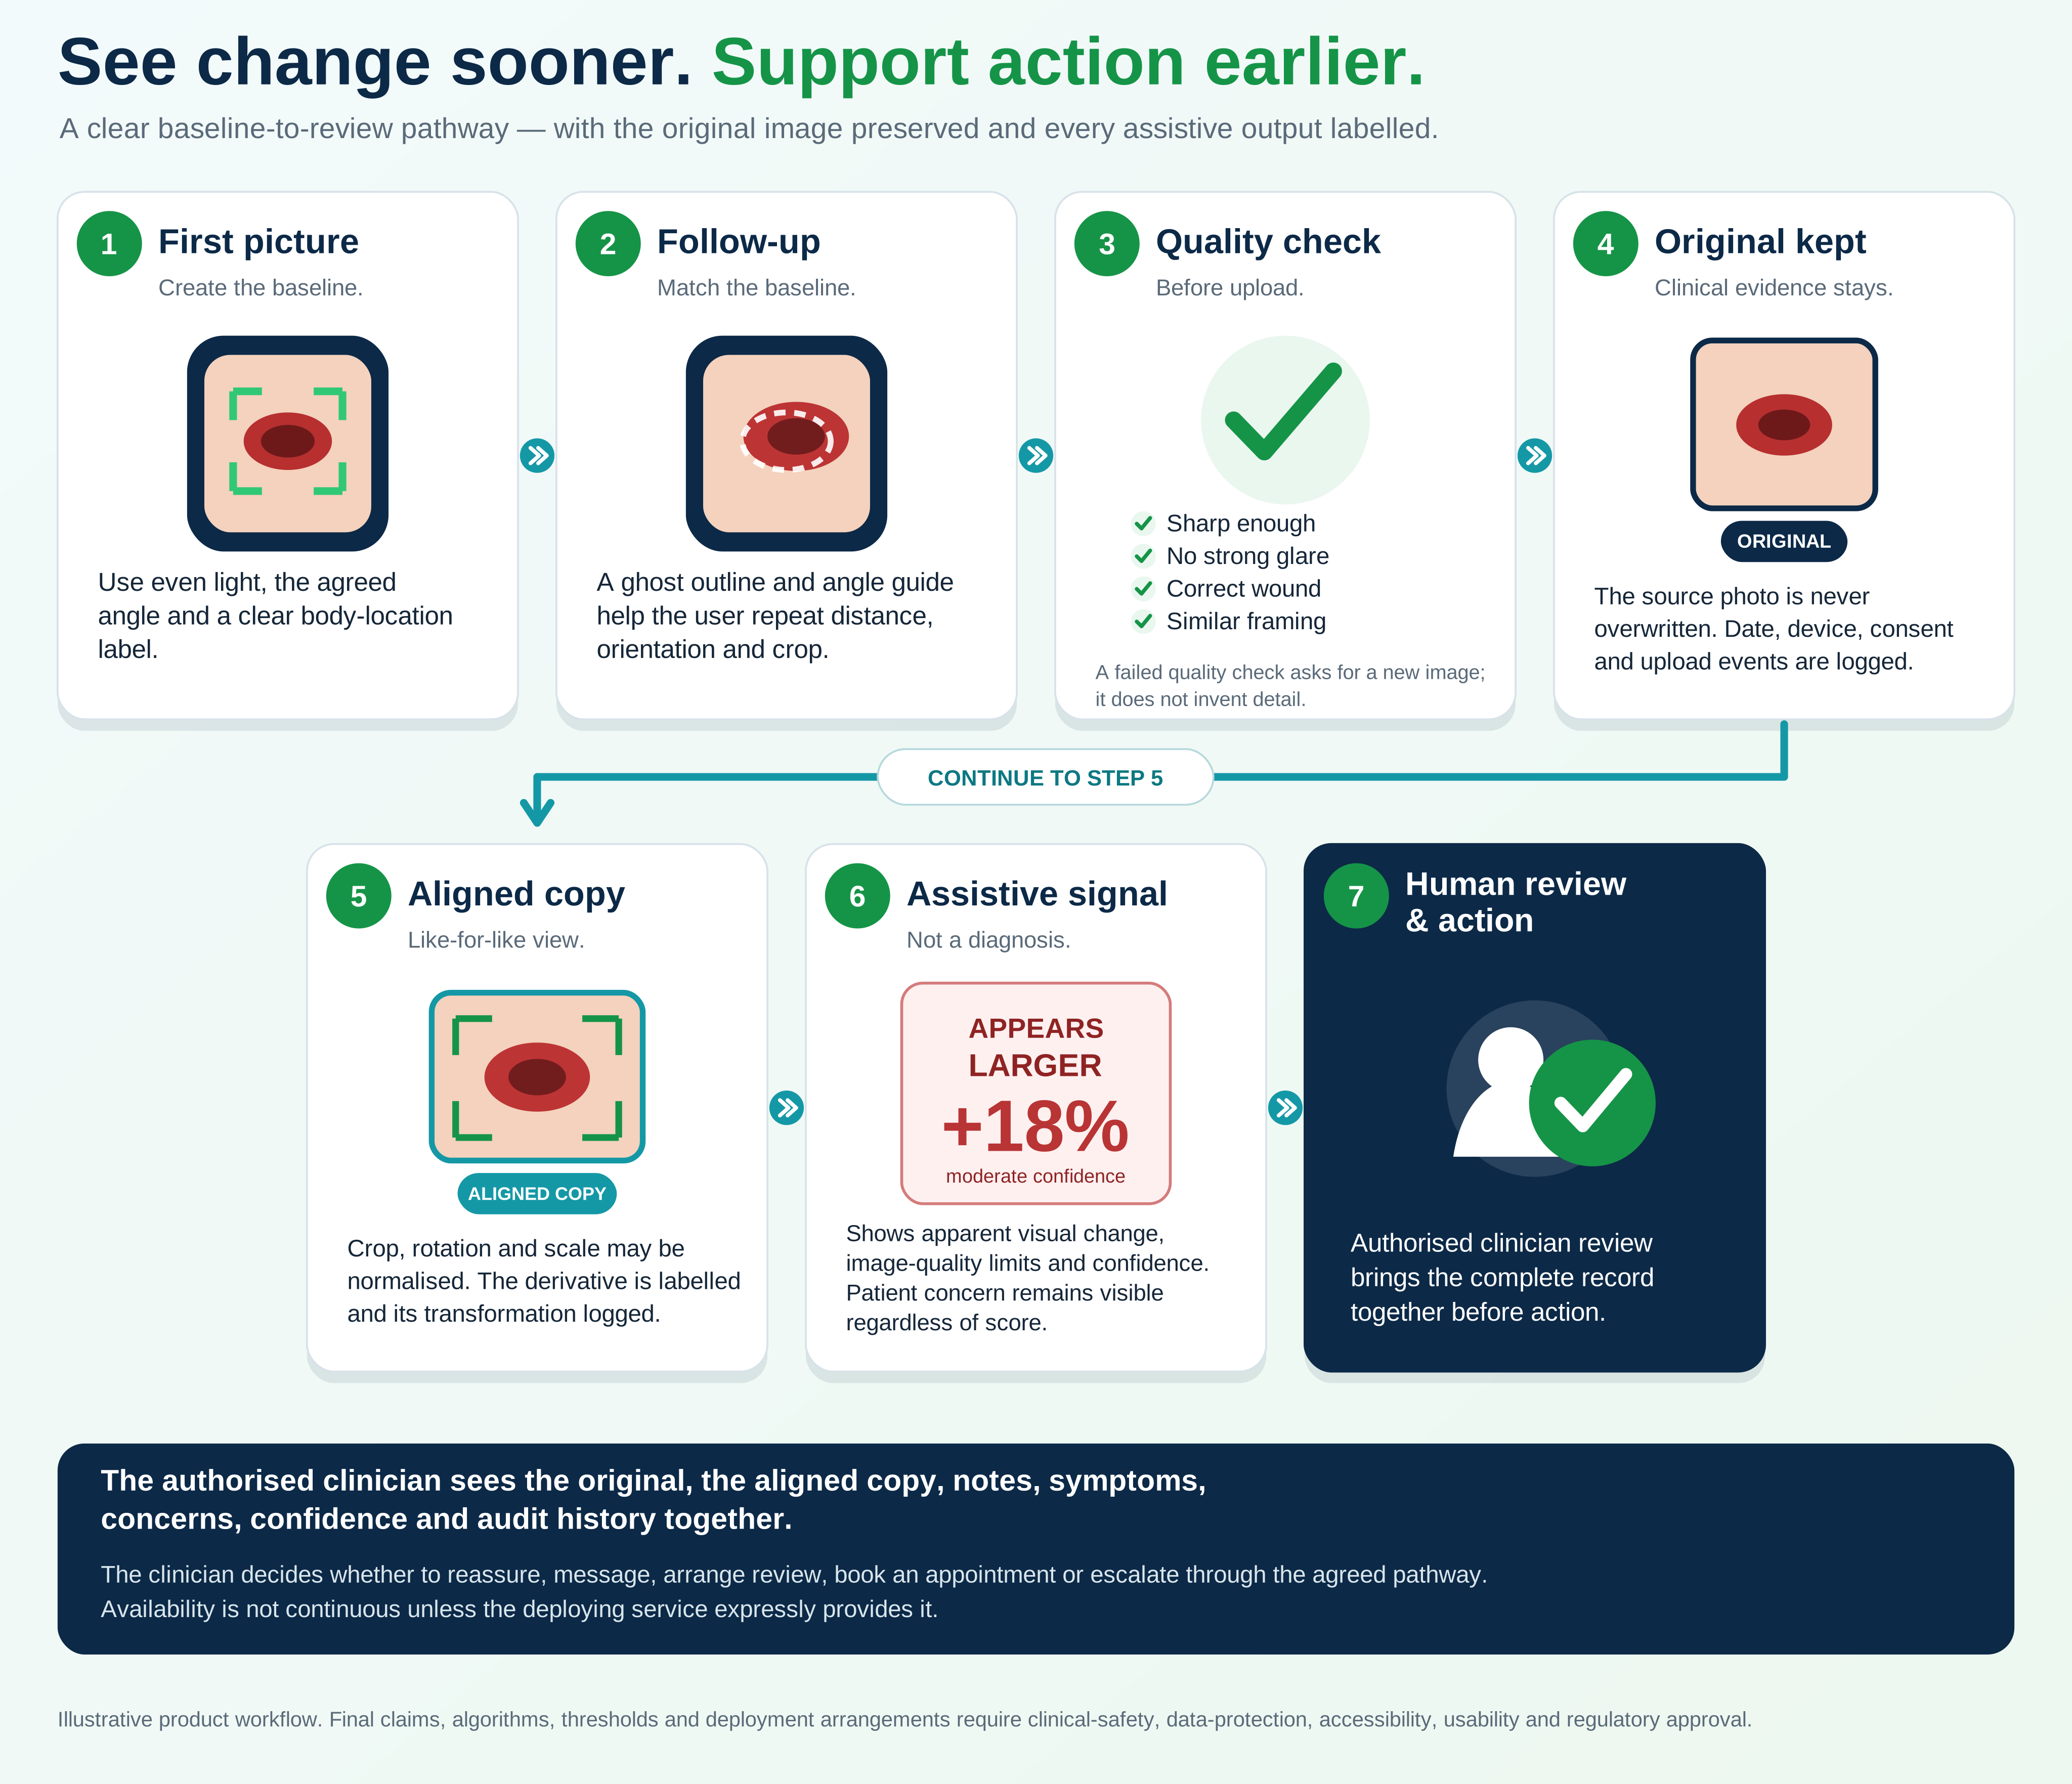
An alignment aid is not a clinical verdict

Clinical boundary: image alignment and comparison may highlight apparent visual change, but they do not diagnose infection, healing, deterioration or any condition. Originals stay available, confidence and limitations are shown, and a suitably qualified person makes clinical decisions.
May support

Consistent viewing

  • Align orientation and position.
  • Show image-quality warnings.
  • Estimate areas of apparent visual difference.
  • Display confidence and reasons for uncertainty.
  • Route the record for human review.
Must not claim

Autonomous clinical judgement

  • No diagnosis of infection or deterioration.
  • No declaration that a wound is healed.
  • No treatment or dressing recommendation from image analysis alone.
  • No concealment or replacement of source images.
  • No reassurance that delays urgent care.
Image comparison with an audit trail
Image comparison with an audit trailClick to open the full 4,320 × 3,720 high-resolution diagram and use the zoom controls.

Meaningful communication

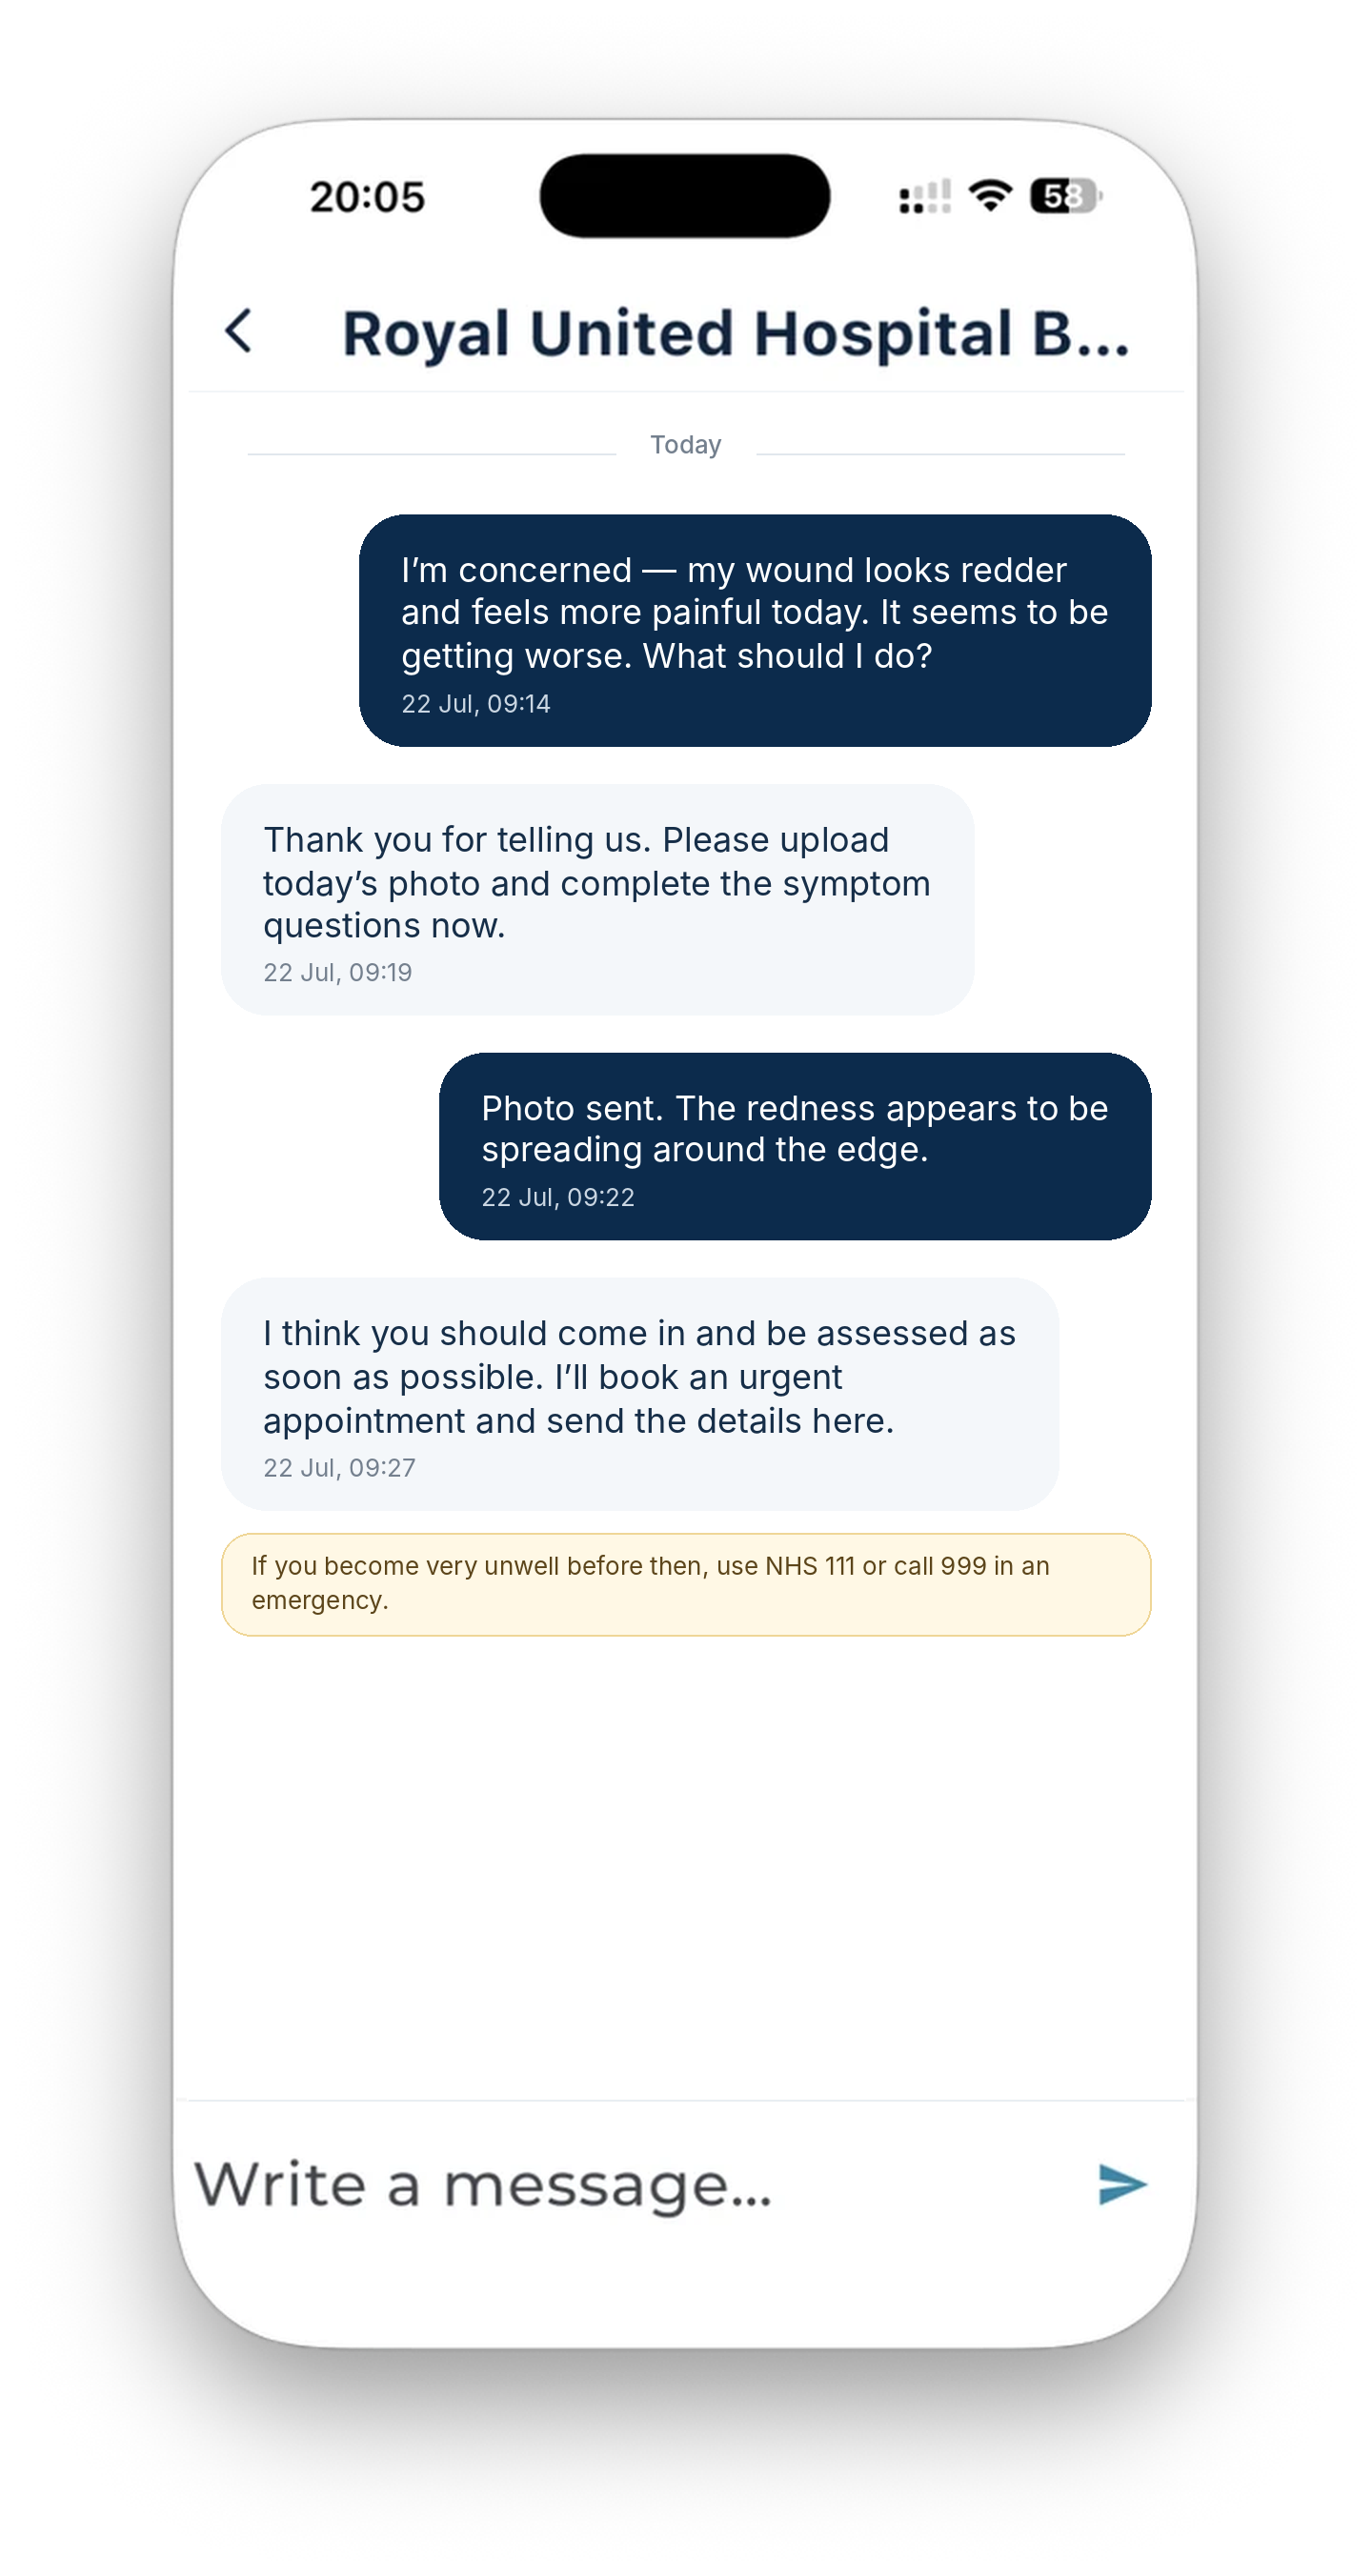
From “I am concerned” to a documented next step

What the person sees
What the person seesThe message identifies the change and asks what action to take.

A useful message includes

  • what is different from the last review;
  • when the change began;
  • pain, heat, swelling, smell, discharge or bleeding;
  • fever, chills, confusion, breathlessness or feeling generally unwell;
  • what dressing or care instructions have been followed;
  • the requested response and the safest contact route.

The response should include

  • the clinical action and degree of urgency;
  • who will arrange or perform it;
  • the appointment or review time;
  • what to do if symptoms worsen or no reply arrives;
  • when the record will be reviewed again.

Review status

Use states that people can understand

Draft

Not shared

The entry remains on the device or account and has not entered a team queue.

Submitted

Awaiting review

Show the named service, its operating hours and the alternative route for urgent concerns.

In review

Assigned

Show that an authorised team member has opened or taken ownership of the item.

Action agreed

Closed loop

Display the documented outcome, safety-netting and next review date.

Know exactly what happens next

The next pages explain the experience separately for people using the record and for professionals operating a linked service.